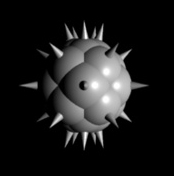
Originally I was making something like a cactus, but later I found someone already made a cactus for this project, so I tried to make a different shape and finally reached this basic shape and began to develop it.
I used python script to generate rib files. This was the first time using a python to me.
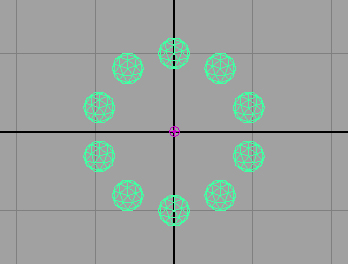
The key of modeling this shape is arranging elements spherical form in a 3D space. First, I’ll explain how to make circular form in a 2D space. It is very simple to arrange elements to circular shape. This way is not exactly same as what I used in actual python code, but basic idea is same.
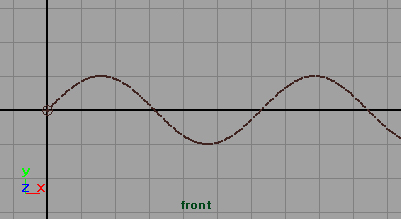
x = sin(theta), y = cos(theta)
sin graph looks like this
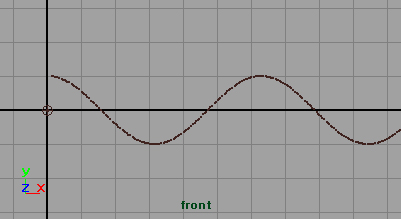
and cos graph looks like this
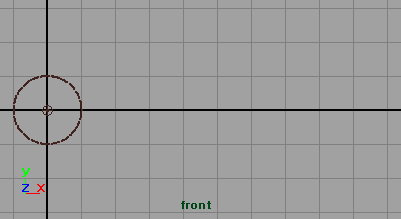
Combining them makes a circle.
The next thing I had to think about was how to keep same space between each element.
theta = ((PI/2) / N) * Nn
N represents the number of elements, and Nn means nth element.
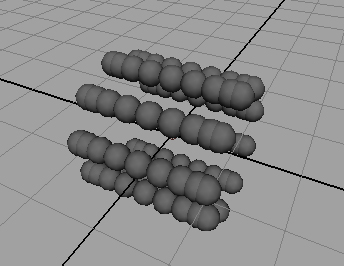
To add z axis, I added zTheta.
zTheta = ((PI*2)/N)*floor(Nn/N)
floor(Nn/N) makes a group ID of elements. For example, 0~10th elements have ID 0, and11~20th elements have ID 1.
So I added this for z axis.
z = sin(zTheta)
lastly, x, y radius should be fixed. Also using zTheta
x = sin(theta) * cos(zTheta)
y = cos(theta) * cos(zTheta)
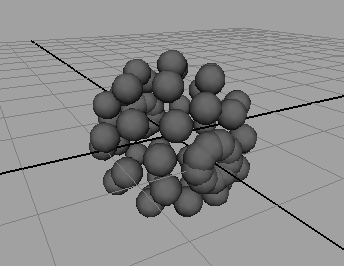
Shpere has been completed.
For better understanding, I made a Maya Particle Expression.
int $numOfRow = 9;
int $numOfColumn = 7;
float $radius = 2;
float $Pi= 3.1415927;
float $theta = (($Pi*2)/$numOfRow)*id;
float $zTheta = (($Pi*2)/$numOfColumn)*floor(id/$numOfRow);
float $x = sin($theta) * cos($zTheta) * $radius;
float $y = cos($theta) * cos($zTheta) * $radius;
float $z = sin($zTheta) * $radius;
particleShape1.position = <<$x,$y,$z>> ;
Cones were done with same way except rotations which is just rotation, so I’m not going to explain.
The next thing I did was to change some variables and put some noise or random values.
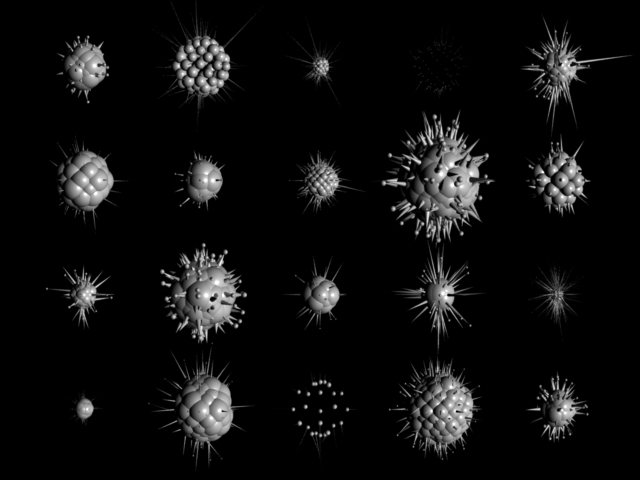
This picture shows different number of elements.
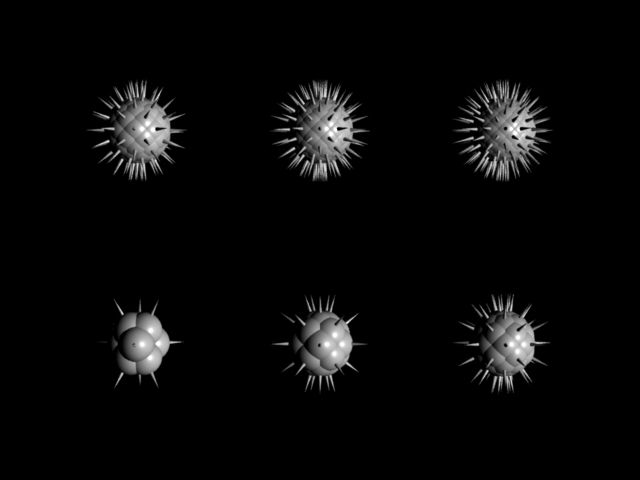
And this picture shows different distance from the center to elements and radius of each elements.
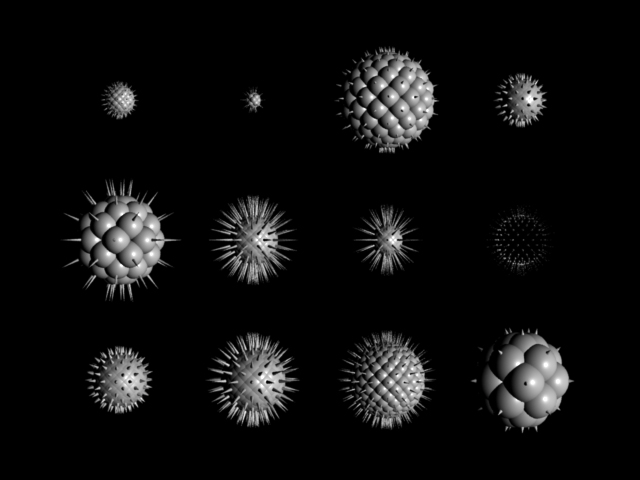
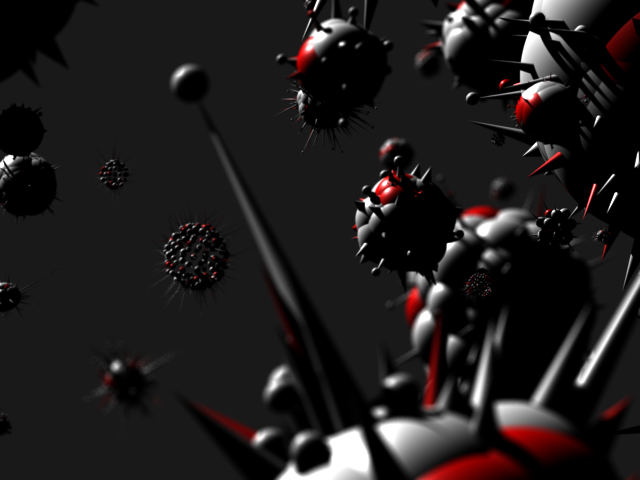
And I added some noise values.
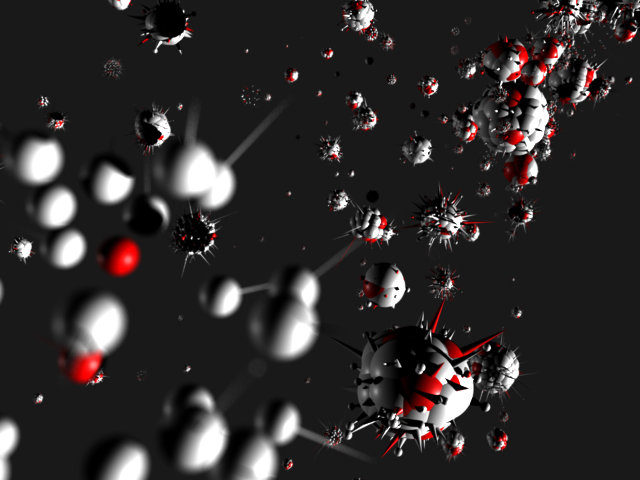
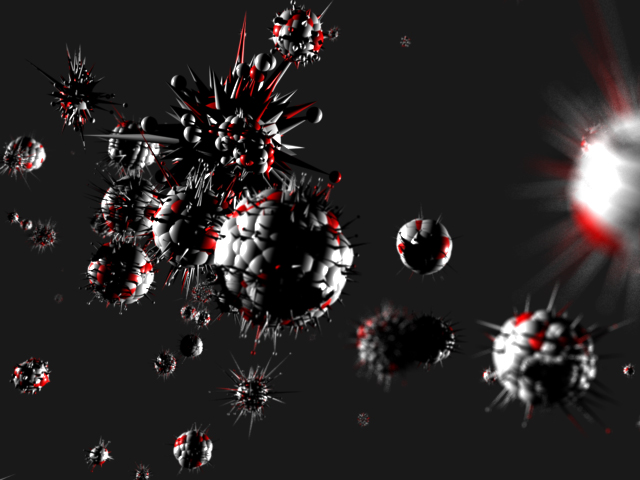
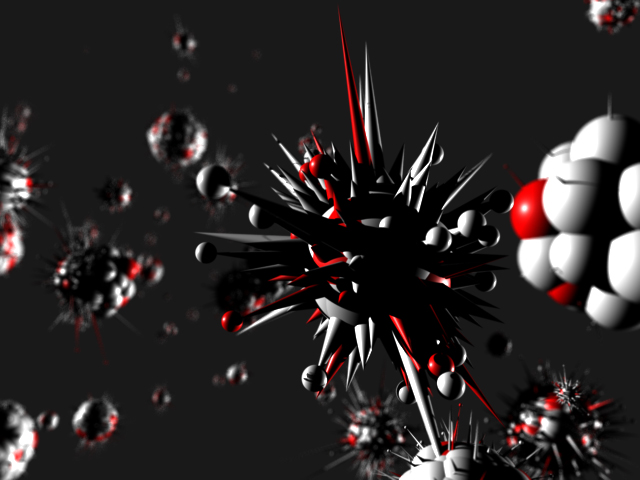
In final images I put a code that makes randomly picked one fifth of object color red.
ReadArchive is a one of rib procedures that is similar to reference function in Maya which references another file. Difference between reference in Maya and ReadArchive is that we can only see the model in rendered image using ReadArchive. In previous version of MTOR, rib box did similar function but new renderman has different way and I’ll mention it next project.
The benefits of using ReadArchive is saving space and reusing data. Also user can deal with a heavy scene easily. In my project, I could only concentrate designing object in object.rib, and in world.rib I could concentrate arranging the objects. For example, when I arranged objects, I used just spheres which are same size as complicated final objects, and after I finished arranging, I switched the spheres to my final objects.
python code: objectRibGen.py
python code: worldRibGen.py